
Seeing Through Layers
Create depth with glazing
Last week, we broke subjects down into simple shapes and values. This week, we’re layering shapes. We’re exploring glazing, one of the most powerful tools in watercolour, where each transparent layer builds depth, shifts colour, and transforms a painting over time.
Exercises
Let’s explore how transparent layers interact:
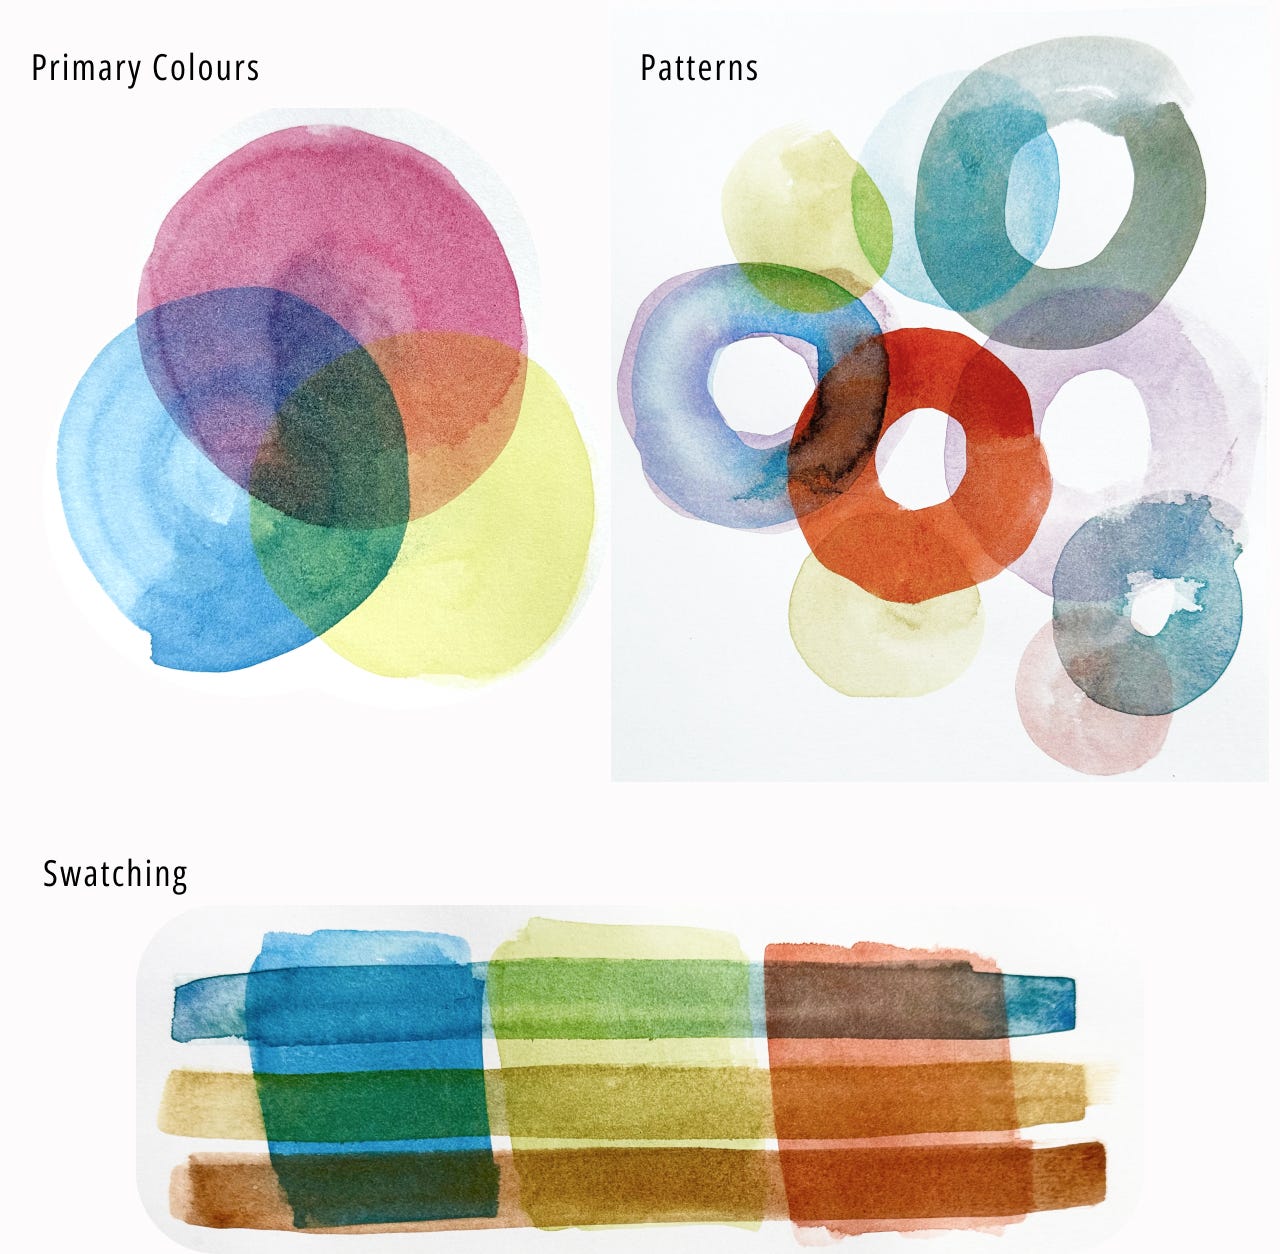
Start with a Venn of three primary colours (red, yellow, and blue). Where they overlap, you’ll see the secondary colours emerge naturally. Wait for each colour to dry before painting the next. Do this with as many colours as you like
Simple Overlapping Shapes – Paint circles, a triangles or rectangles, letting each shape dry before adding the next. Watch as new colours appear where they overlap.
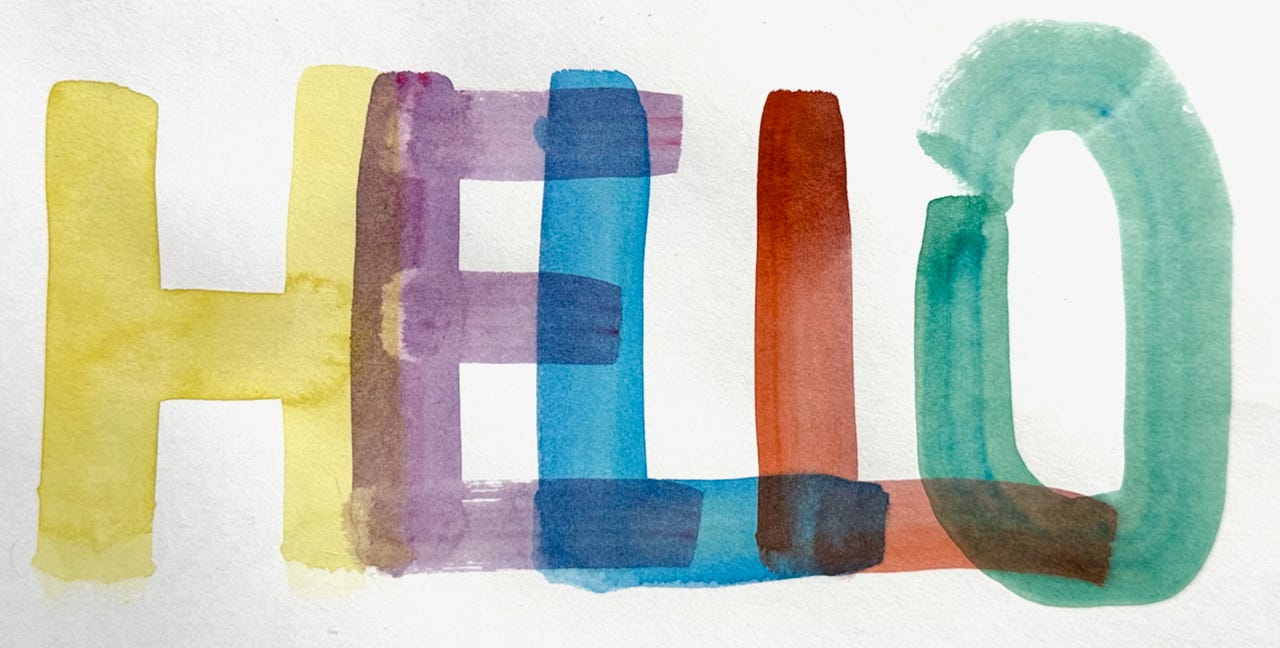
Glazing with Letters – Inspired by the United Nations 75th Anniversary Stamps, use transparent layers to overlap letters or words, playing with how the colours interact and create depth.

Why
Foundational: Glazing is a foundational watercolour technique. It can’t be practiced enough!
Depth and Atmosphere – Layers build richness in skies, shadows, and backgrounds. Glazing unifies colours, shifts temperature, or enhances the mood of a painting without overworking it.
Control and Luminosity – By building up values gradually, you avoid muddying colours and retain watercolour’s signature glow.
Examples
As per the instructions above, I painted my primaries, layered shapes and played with letters. It’s also a great way to swatch colours, and explore how different colours interact. You’ll see instantly which of your pigments are transparent, semi-transparent or opaque.
👉 Upgrade to watch 2 videos on how I use glazing to change the mood, and paint a seascape. Also some Master Artist references, and a few more ideas to practice your glazing skills.
